Wedding Stamp Ideas: Custom, Return Address & Wax Seals


Wedding stamp ideas are one of the easiest ways to make a paper-heavy event feel personal without hiring a designer. A single stamp can mark a return address on every invitation envelope, add your names and date to a stack of favor tags, or finish a thank-you card with a small flourish. Because the same design repeats across dozens of pieces, the result looks cohesive and intentional.
Stamps also solve a very practical problem. A typical wedding involves save-the-dates, invitations, RSVP cards, place cards, menu cards, favor tags, and thank-you notes. Writing the same address or message by hand a hundred times is tiring, and the handwriting drifts as you go. A stamp keeps every piece consistent and cuts hours from the job.
There are two main families to choose from. Ink stamps, including self-inking and wood-handled rubber versions, give you crisp lettering and a flat printed look. Wax seal stamps give you a raised, tactile impression that suits formal or romantic stationery. Many couples use both, with ink for the repetitive details and wax for a few showpiece items.
This guide walks through the best uses for each type, how to design a stamp that stays legible, how to match ink and wax to your palette, and how to budget and schedule the work so nothing is rushed the week before the wedding.
Why a Custom Wedding Stamp Is Worth It
A custom stamp is a small purchase that works harder than almost anything else on your stationery list. One design can appear on envelopes, tags, paper bags, napkin bands, programs, and cards, and it can be used again after the wedding for thank-you notes, anniversary letters, and gift wrapping.
The biggest advantage is consistency. When every piece carries the same mark, the whole event looks designed, even if you are assembling the pieces yourself at the kitchen table. Guests notice repeated details like a monogram or a date lockup, and they tend to remember them.
Stamps also keep costs under control. Printing a return address on envelopes can add real expense once you factor in setup fees and minimum quantities, while a stamp is a one-time cost you can reuse for every mailing. If your guest list changes or you add a late batch of invitations, you simply stamp more envelopes instead of placing a new print order.
Finally, stamps suit hands-on couples. If you enjoy a craft evening with a playlist and a pile of kraft paper, stamping is satisfying work that goes quickly. If you prefer to delegate, it is easy to hand a stamp and an ink pad to a bridesmaid or a parent and let them take over while you handle other tasks.
Return Address Stamps for Invitations and Save-the-Dates
The most common use for a wedding stamp is the return address on the back flap or upper corner of an envelope. It is practical, it looks polished, and it saves you from the repetitive strain of writing your address over and over.
Choose a self-inking design if you will be stamping a large batch. The pad is built into the stamp, so you press once and move on, with no separate ink pad to manage. For a larger project, the Custom Wedding Stamp Self Inking Personalized Wedding Postage Stamps with Name and Date runs around $18 to $28 and works well for stamping return addresses or a small motif on envelope flaps, saving the repetitive strain of writing the same information by hand fifty or a hundred times.
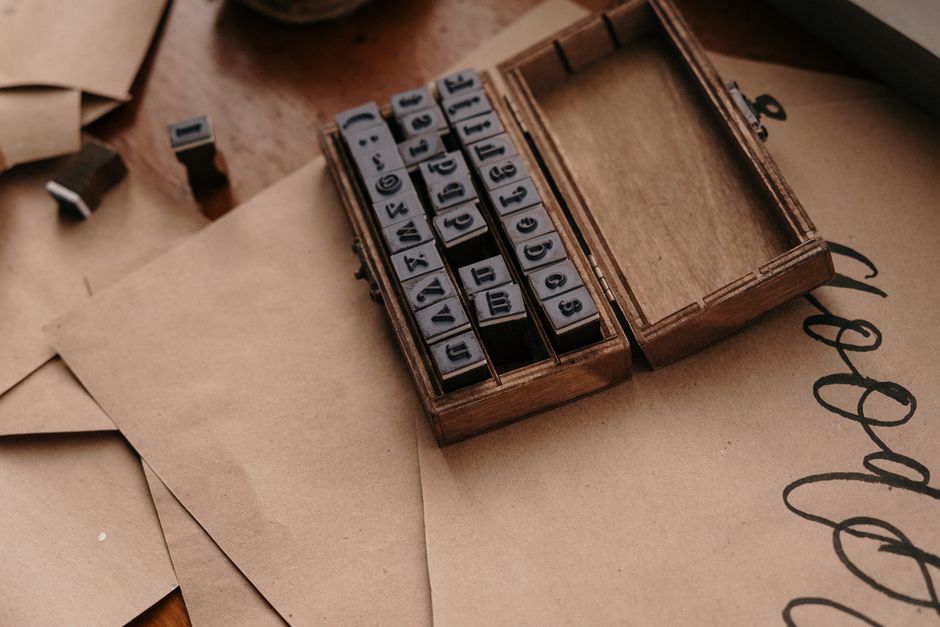
Keep the layout simple. Two or three lines are plenty: your names, a street address, and a city line. Skip decorative fonts at small sizes, because thin strokes fill in with ink and become hard to read. If the envelope will go through the postal system, test the stamped area with a pen and a damp finger to make sure it does not smear.
Place the stamp consistently. Many couples center it on the back flap point, while others prefer the top left corner of the front. Mark a light pencil guide or use a scrap envelope as a template so every piece lines up. Stamp all envelopes before you stuff them, and let the ink dry fully before stacking. For more on getting the whole suite right, see our guide to wedding invitation ideas.
Wedding Date and Monogram Stamps for Favors and Tags
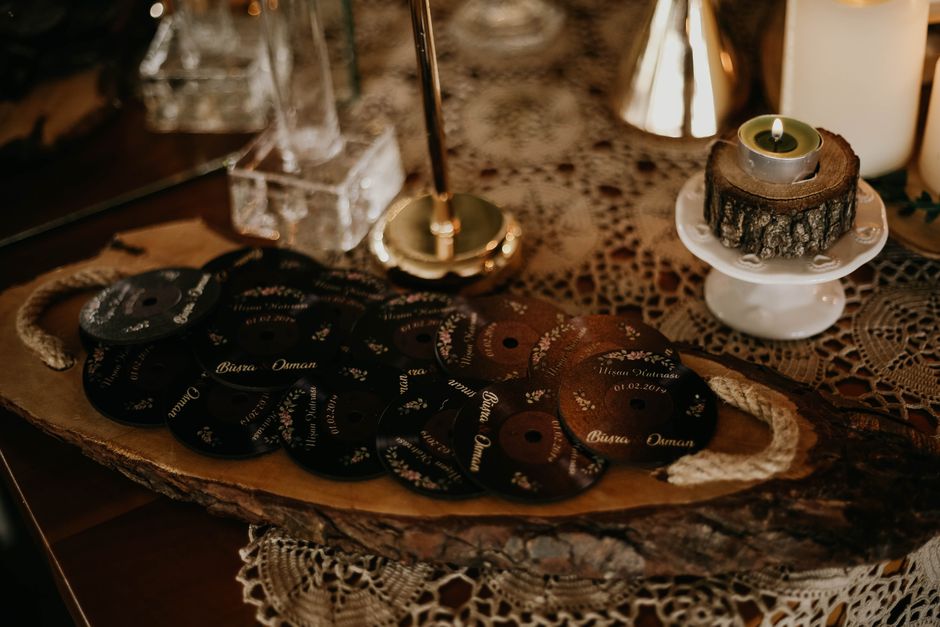
Beyond envelopes, a names-and-date stamp is the fastest way to personalize favors. Kraft tags, paper bags, small boxes, cookie sleeves, and napkin bands all take a stamped impression beautifully, and a rustic stamped mark often looks better than a printed label.
For couples who want a stamp that does a lot of jobs, the Printtoo Personalized Family Address & Wedding Invitation Rubber Stamp lets you upload two to four lines, such as names, a date, a hashtag, or a short message, and ships as a wood-mounted stamp for around $25. One stamp can personalize 300 or more kraft tags in under an hour, and the stamp itself becomes a keepsake.
Pair a wood-mounted rubber stamp with archival pigment ink so the design does not smudge after a humid ceremony or a long reception. Dye-based inks can bleed on kraft paper and fade in sunlight, while pigment ink dries opaque and lasts. Test a few colors on the exact paper you plan to use, because kraft darkens light inks and can turn pale shades muddy.
Keep the design small and bold. A monogram, a short date such as the month and year, or a simple heart and initials all stamp cleanly at tag size. If you need ideas for what to attach those tags to, our wedding favor tag ideas cover wording, materials, and pairing options.
Wax Seal Stamps for a Formal Finish
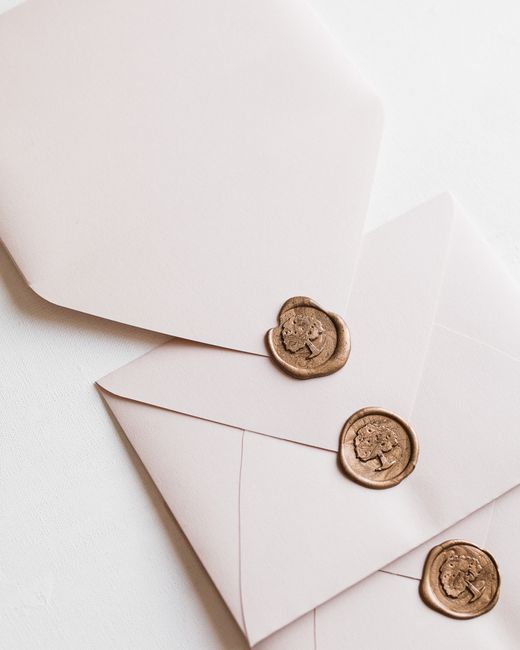
Wax seals bring weight and ceremony to paper. A small drop of wax pressed with a brass head closes an envelope flap, secures a ribbon around a menu card, or sits at the center of a place card. In photos, the raised texture catches light in a way flat ink cannot.
A wax seal stamp kit with colored wax beads and a warming tool covers menu cards, place cards, and invitation envelopes from the same set, which spreads the cost across several stationery pieces rather than a single use. Typical kits run about $20 to $35 and include a melting spoon, sealing wax beads, and a brass stamp head.
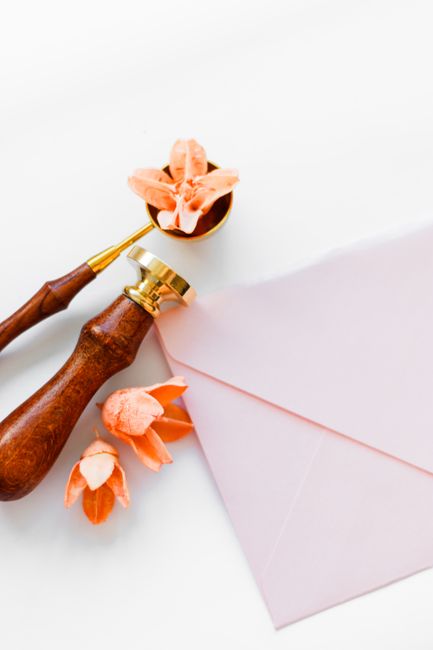
Expect to budget an evening for practice. The wax needs a consistent temperature to release cleanly from the stamp, and the first several attempts usually crack or smudge before the technique clicks. Work on a heatproof surface, keep a bowl of cold water nearby for cooling the stamp head between seals, and press straight down without twisting.
Think about volume before committing. Sealing 150 envelopes by hand is slow, and each seal needs time to set. Many couples seal only the most visible pieces, such as the invitation to a few key guests, the escort or place cards at the head table, and the outer envelope for thank-you notes, while using ink stamps for everything else. That mix keeps the effect special without turning the project into a chore.
Choosing Between Wax Seal Heads and Designs
Not all wax seal stamps give the same result, and the head you choose affects how flexible the set is. A single monogram head looks elegant but locks you into one design. A set with several interchangeable heads lets you use a monogram on invitations, a heart on favor tags, and a floral motif on thank-you notes.
A Wax Seal Stamp Set with Wooden Handle and Brass Heads covers the DIY version well. The set includes several head designs, so you are not locked into a single monogram shape, and the wooden handle stays cool enough to use for a stack of 100 or more programs in one sitting without hand fatigue.
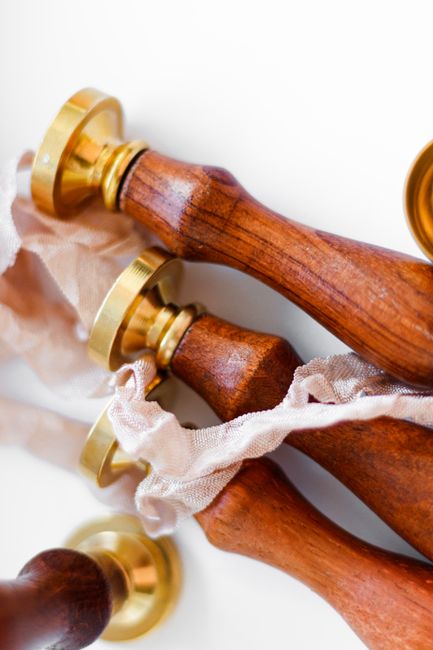
When you pick a design, think about scale. Intricate scripts and tiny details can disappear in a seal that is only about an inch across, so favor bold shapes: a single initial, a simple botanical, or a clean geometric emblem. If your invitation suite already includes a motif, echo it in the seal so the pieces read as a family.
Practice on scrap cardstock first. Wax seals are forgiving to redo but unforgiving to rush, and a cracked seal looks worse than no seal at all. Warm the stamp slightly if the wax sticks, and lift straight up once the seal has set for a few seconds.
Rustic Rubber Stamps for Kraft and Natural Styles
Not every wedding calls for wax. Outdoor, barn, garden, and boho celebrations often suit a simpler, more earthy look, and a wood-handled rubber stamp delivers exactly that. The slightly imperfect, hand-pressed impression looks charming on kraft envelopes, brown paper bags, and recycled card stock.
For couples who prefer a more traditional look on the return address or envelope flap, the Custom Wedding Stamp with Name and Date, Wood Handle offers a rubber-stamp option in the $12 to $20 range that pairs naturally with wax seals or kraft paper envelopes for a more rustic presentation.
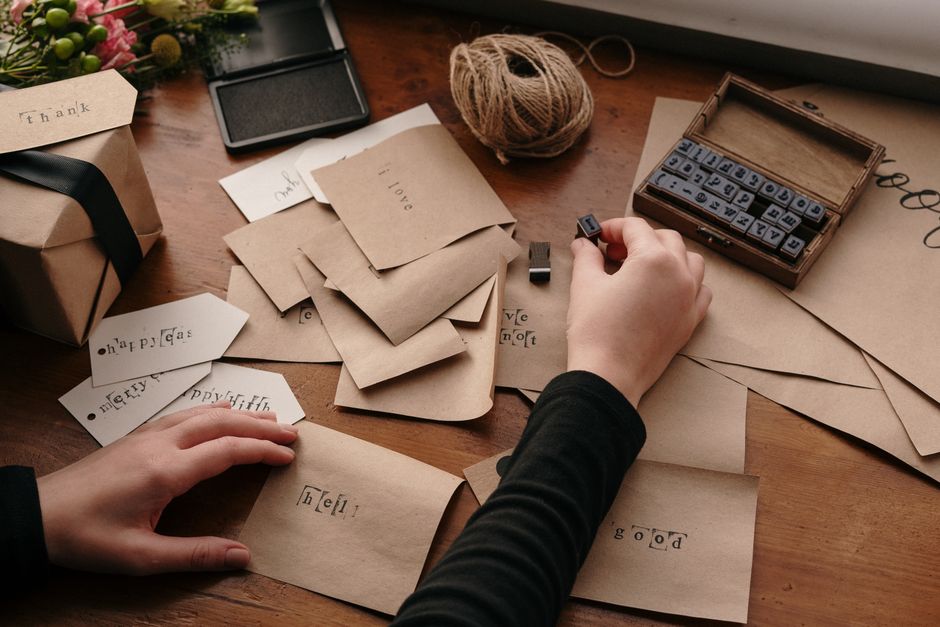
Rubber stamps need a separate ink pad, which opens up color choices. Black or deep brown ink looks classic on kraft, while forest green, navy, or burgundy can tie into your palette. White or metallic ink on dark paper gives an elegant reversed effect, though it needs a slower, firmer press and more drying time.
Stamp on a flat, hard surface and press evenly. Rocking the stamp slightly from one edge to the other helps cover the whole design. If you see patchy ink, re-ink and try again rather than pressing harder, since extra force can squeeze ink past the edges and blur the lettering.
Planning, Budget, and Timing Your Stamping Project
Start by listing every piece of stationery that might take a stamp: save-the-dates, invitations, RSVP envelopes, place cards, menu cards, favor tags, programs, and thank-you notes. Decide which items get ink, which get wax, and which stay unstamped. This list tells you how many impressions you need and which stamp types are worth buying.
Budget is modest. Ink stamps usually cost between $12 and $30, and wax kits tend to run $20 to $35. Add a few dollars for ink pads and a small stack of test paper. Compared with printed return addresses or custom foil work, stamps are one of the cheapest personalization options available. If you also plan to send printed announcements, our wedding thank you card ideas show how to carry the same mark through your post-wedding stationery.
Order early. Custom stamps are made to order, and production plus shipping can take one to three weeks. Aim to order at least six to eight weeks before you plan to mail invitations, which leaves room for a proof, a correction, or a replacement if the stamp arrives with a typo.
Always do a test run. Stamp a sample envelope, a tag, and a scrap of the exact card stock you will use, then let it dry and check for smudging. Bring extra envelopes and cards, since a stamping mistake cannot be erased. Ordering ten to fifteen percent more than your count is a cheap safeguard.
Finally, schedule the work in short sessions. Stamping for an hour or two with a break keeps the impressions even, while a marathon session leads to tired hands and uneven pressure. Stack finished pieces on a drying rack or a clean towel and keep them out of direct sun.
Wedding Stamp FAQ
- What is the best type of stamp for wedding invitations?
A self-inking stamp is the easiest choice for return addresses because it needs no separate pad and gives a clean, repeatable impression. For a more decorative touch, add a wax seal to the envelope flap. Many couples combine the two, using ink for every envelope and wax for a smaller number of showpiece pieces.
- How much does a custom wedding stamp cost?
Most custom ink stamps cost roughly $12 to $30, depending on size, handle material, and whether they are self-inking. Wax seal kits generally run about $20 to $35 and include wax beads, a melting spoon, and a brass head. Prices vary, so compare options and factor in ink pads.
- Can I use a wedding stamp on dark envelopes?
Yes, but choose the right ink. Standard black ink disappears on dark paper, so use white or metallic pigment ink and allow extra drying time. Wax seals work especially well on dark envelopes because the raised color stands out without any ink at all.
- How long does it take to make a custom wedding stamp?
Production and shipping typically take one to three weeks, though holiday periods can add delays. Order at least six to eight weeks before you plan to mail invitations so you have time to proof the design and fix any mistakes before the batch is stamped.
- Will stamped ink smudge on envelopes?
It can, especially on glossy or coated paper. Use archival pigment ink on matte stock, press evenly, and let each envelope dry before stacking. Test a sample first, and check that the stamped area does not smear when handled, particularly if the envelope will travel through the mail.
- How do I get a wax seal to look neat?
Melt the wax until it flows evenly, pour a pool about the size of a coin, and press the stamp straight down without twisting. Hold it still for a few seconds, then lift straight up. Practice on scrap paper first, because temperature and timing matter more than force.